Correct hooping for best embroidery results
Welcome to the Madeira tutorial on how to hoop correctly. Good hooping is key for great embroidery results.
Best practice hooping tips
Hooping might seem simple but doing it correctly is one of the most important steps in your embroidery process. It stabilises the garment or fabric, avoids puckering and helps to achieve perfect results.

What you need: Hoops (magnetic or standard), textile, backing, scissors, adhesive spray
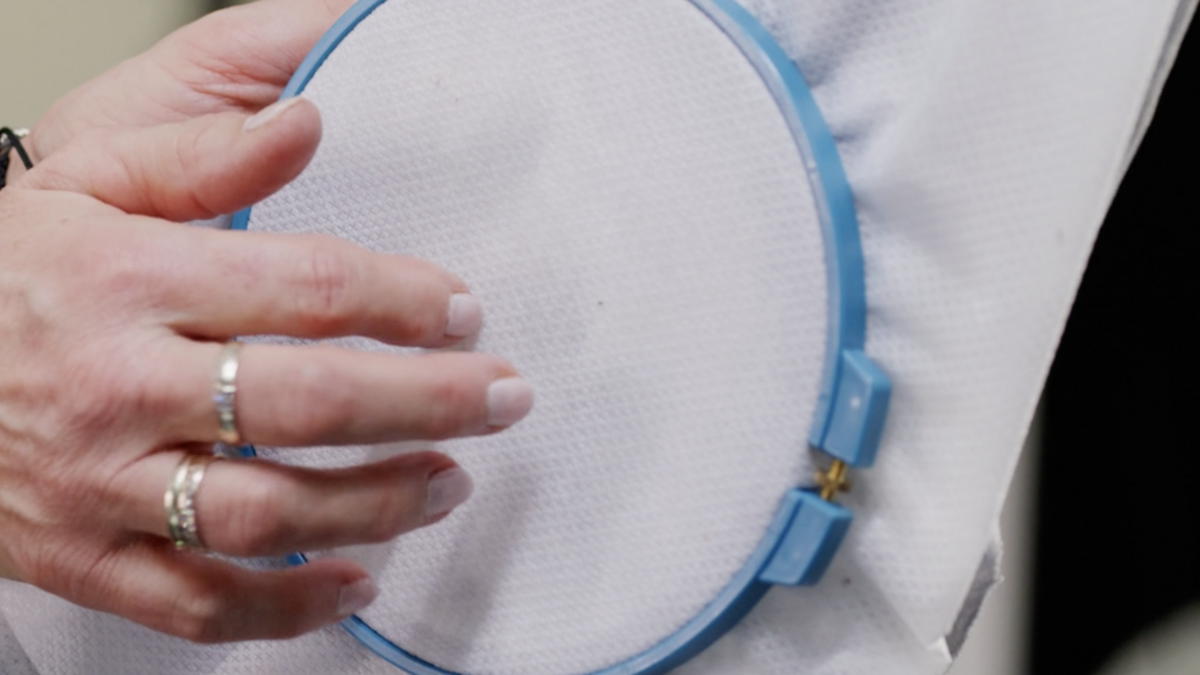
Check for correct hooping
When your garment is hooped correctly, you will be able to run your fi ngers over the fabric without it moving or rippling. If your garment is too loose, take it out of the hoop and repeat the process. Once hooped, never pull the fabric or tighten the screws further as this can affect the placement of your designs.

Using magnetic hoops
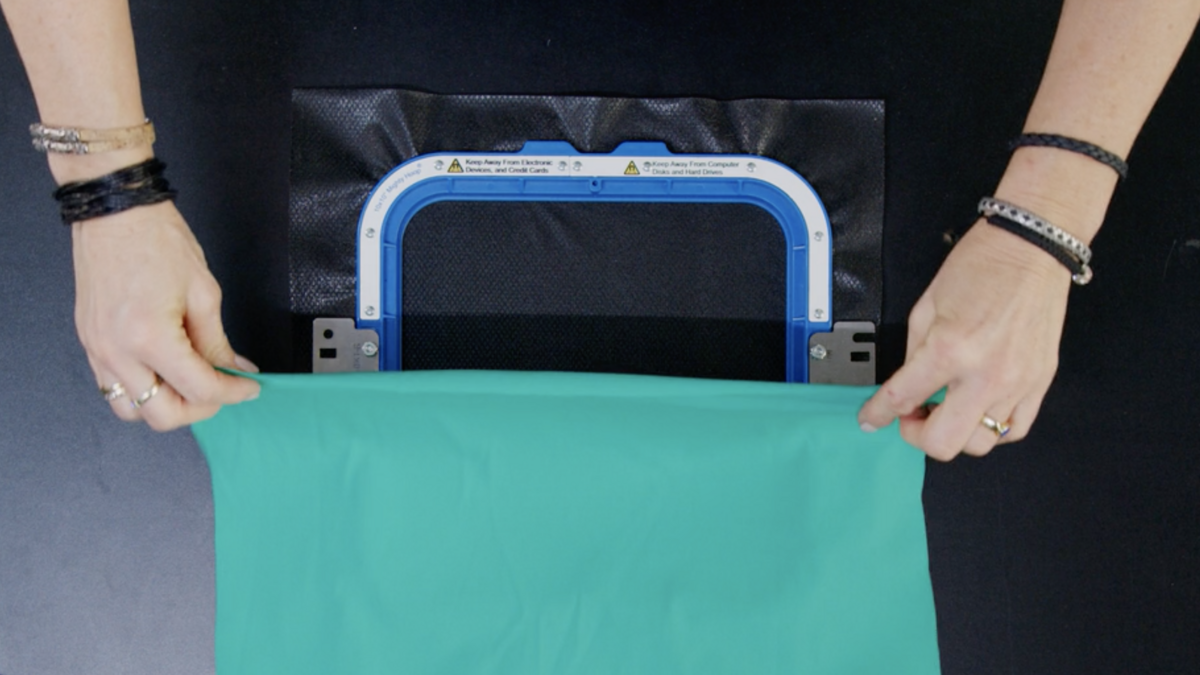
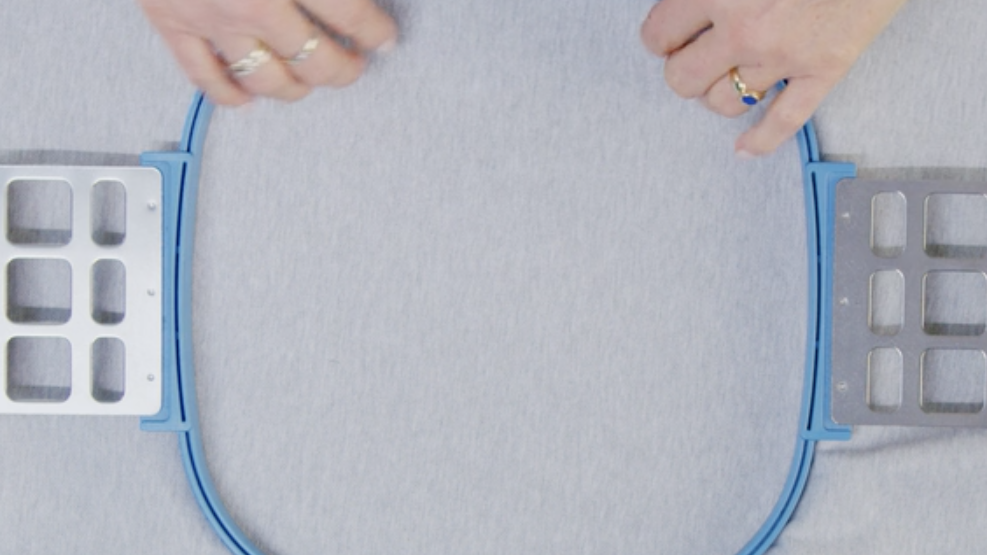
The process for a magnetic hoop is almost the same. When placing the upper part, hold it over the lower part and let it fall, taking care not to pinch your fi ngers as the magnets are very strong. In contrast to the standard frame, a magnetic frame permits small adjustments to the fabric or stabiliser to remove folds once it is closed.

Hooping delicate fabrics
Delicate fabrics, satin, lycra, and thin nylon can be diffi cult to hoop as they tend to slip and the hoop can leave a mark. The solution is to hoop only the backing and lay the fabric on top, secured in place with temporary adhesive spray, or use a sticky backing without spray. If hooping only the backing, use a bigger frame so that the garment can lie on it.

Important information for use
Treat each fabric according to its characteristics, for example:
- Don‘t overstretch knits
- Consider clamping thick fabrics
- Use specialist hoops for caps
We recommend using a hooping system to hoop multiple items uniformly.
Find the right backing for your fabric with the Madeira backing selector

